Make-up removal. It sounds like an easy task yet it causes us quite a bit of trouble. How to remove mascara and not break the eyelashes? How to cleanse the skin and not irritate it? Ponder no more. Check out below how to correctly perform make-up removal step by step.
Why is make-up removal so important? Never skip it because (if you won’t do it correctly):
- it prevents blackheads and pores from clogging,
- it restores the acid-base balance of the skin,
- it makes it easier for the skin and eyelashes to regenerate overnight,
- it limits the risk of irritation and calms the skin,
- it removes all the toxins gathered on the skin during the day.
What do you need for the make-up removal?
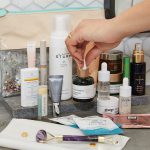
Cosmetics for make-up removal is plenty, micellar liquid, bi-phase, alcohol base, balms or oils. How to choose a product that will make your skin clean, refreshed, and not irritated? A lot depends on the skin type – the more dry and sensitive the skin is the gentler the make-up remover has to be.
The most popular is a micellar liquid which formula is based on micelles as its particles catch the dirt and remove it from the skin without the necessity of rubbing the skin. Another good choice are natural oils for make-up removal, which can also help you get rid of waterproof cosmetics without the dryness of the skin while leaving it nourished. People with sensitive skin type should use cleansing milk which formula is gentle and removes make-up leaving the skin moisturized and smooth.
How to perform make-up removal step by step?
As important as the choice of the right cosmetics is how to actually do it. The statistics are ruthless and indicate that over half the women remove make-up incorrectly. It’s a huge problem because incorrect or imprecise make-up removal is an easy way to skin irritations and issues such as acne. Therefore, it is important to know how to perform make-up removal in the right way.
Step 1. Initial face cleanse
Before you proceed to the make-up removal, it is necessary to cleanse the skin. You can use for it facial washing gel or perform so-called OCM (Oil Cleansing Method with the use of castor oil and another oil of choice, e.g. argan, grape seed, jojoba). This step allows you to soften and wet the skin so make-up removal will be easier.
Step 2. Gentle yet precise eye make-up removal
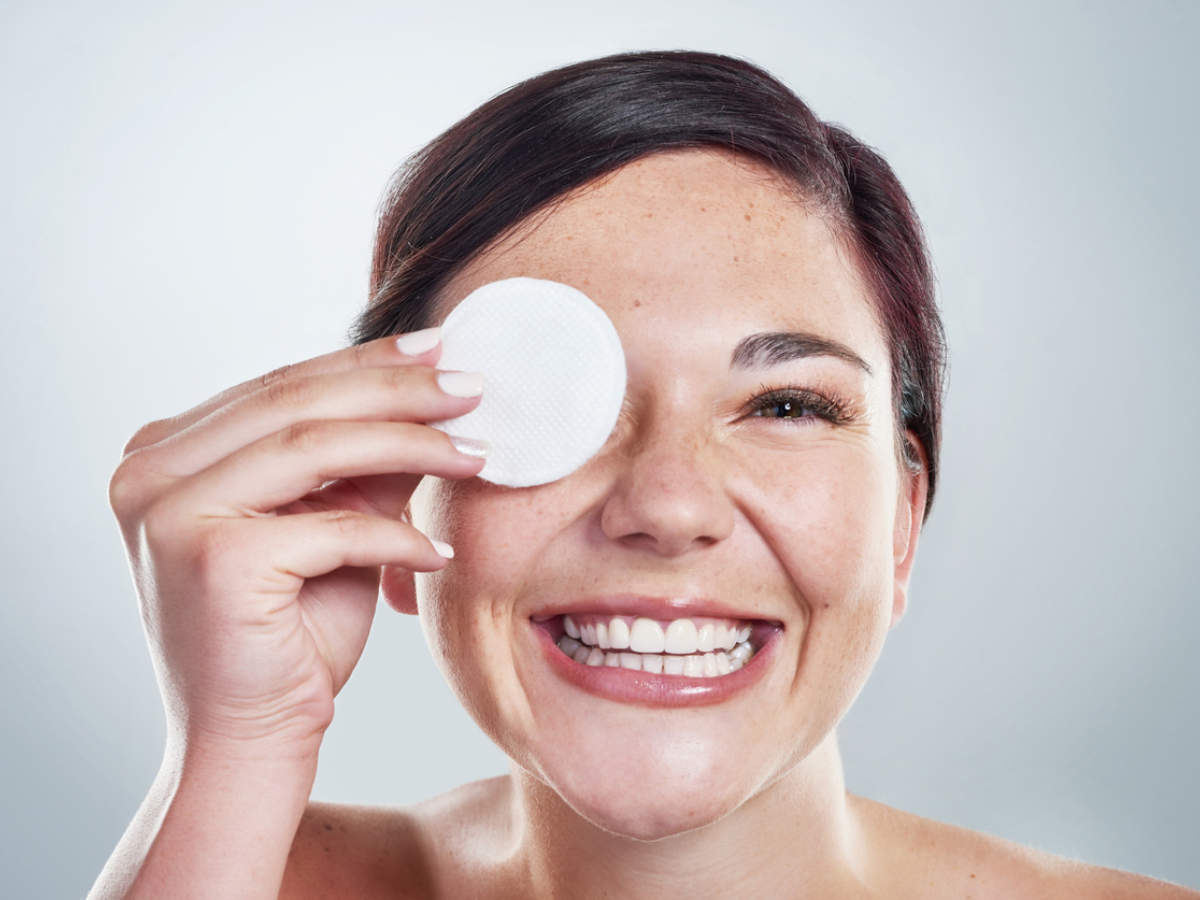
The most attention you should pay to the eyes because usually in this area there are the most layers of cosmetics. Eye make-up removal can be made with oil, micellar liquid, or cleansing milk – no matter the choice, you need to be gentle so no ribbing. Moist with the product cotton pad press against the eye and hold for a few seconds then gently remove the make-up moving the cotton pad in the outer eye corner direction. Repeat it a few times using clean cotton pads (this way you will know when the eyes are truly clean).
Step 3. Lip make-up removal
If you wear lipstick, you should spend some time on its removal as well. Use a cotton pad and the cosmetic of choice for the make-up removal and remove the lipstick using the same method as in the case of eyes.
Step 4. Face make-up removal
It is time for the face make-up removal, or its wash again, but more precise this time. In this case, it is worth using gel or foam for face wash because thanks to it you can precisely remove anything that is left on the skin. While at it, you should do gentle massage to the face to help clean it even better and to prepare the skin for the following routine. Once a week you can replace face wash with an exfoliator to remove dead skin cells and clean face even more precisely.
Step 5. Toner
The last thing is the toner. This step is often skipped but it’s very important because it restores skin with the right pH. The toner not only brings calm but also prevents irritations and regulates skin functions. At the same time, it also removes all the remaining and invisible to us toxins.
